VW T4 camper
What began as rust-proofing became a complete rescue
This 2006 VW T4 camper came to me for a Tectyl rust-proofing treatment. As always, I started with a thorough clean, because good protection needs a clean and honest surface to work on.
During that clean it became clear that the van needed more than just a protective coating. Corrosion had done its work in many places: the load floor, the sills and steps, the jacking points, the bumper and tow bar beam, the wheel arches and wheel arch lips, the spring seats and the chassis rails. With every part I removed, I got a fuller picture of what this van really needed.
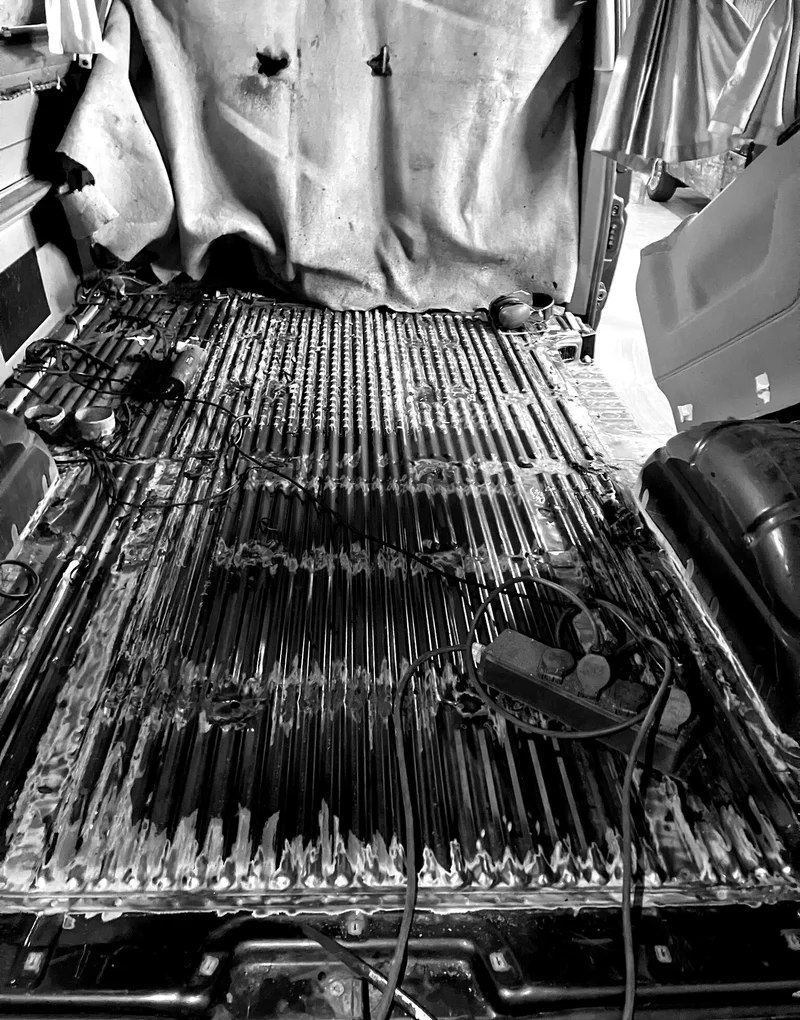
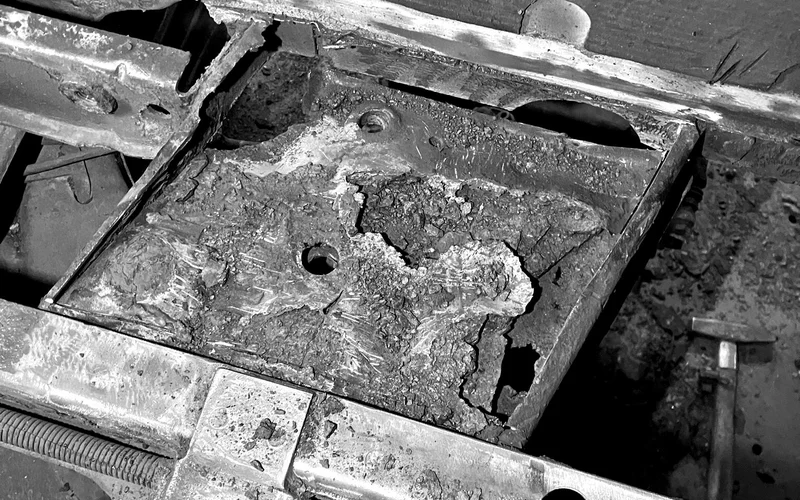
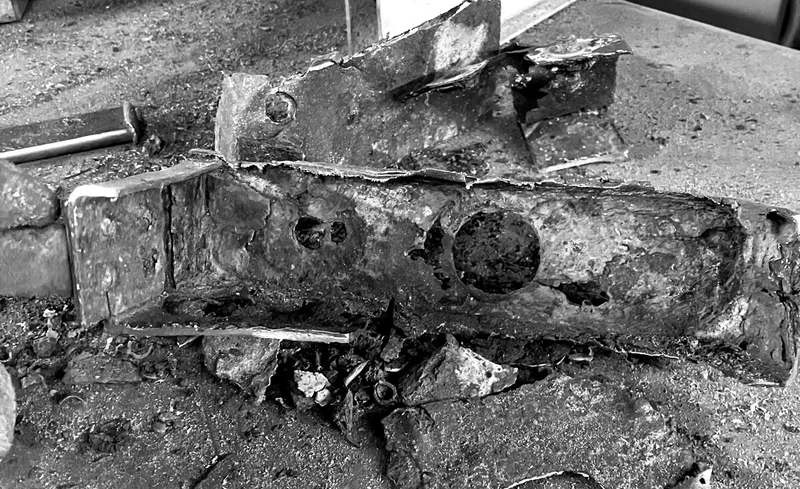
Welding in a camper is not something you just do. With the conversion still fitted, I could not safely reach anything, so everything had to come out. The complete interior, apart from the dashboard.
That was an interesting job in itself, and it took days. Only then could the real work begin.
The scale alone was a challenge. But the hardest part was this: every load-bearing part of the structure had rotted. At that point it is no longer cosmetic work, but a matter of safety.
Much of it I could repair. What could no longer be saved, I made myself. This is everything that was tackled:
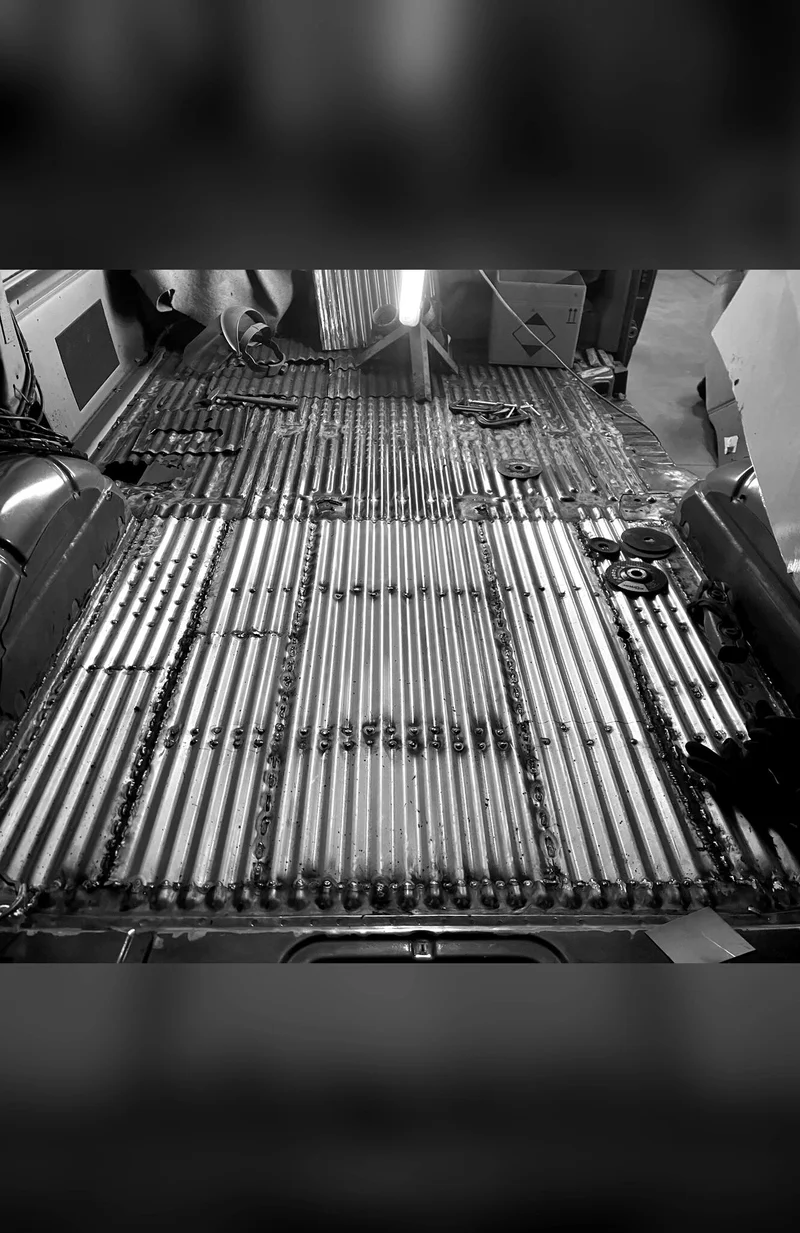
- The load floor
- The cross-member mounting points, left and right
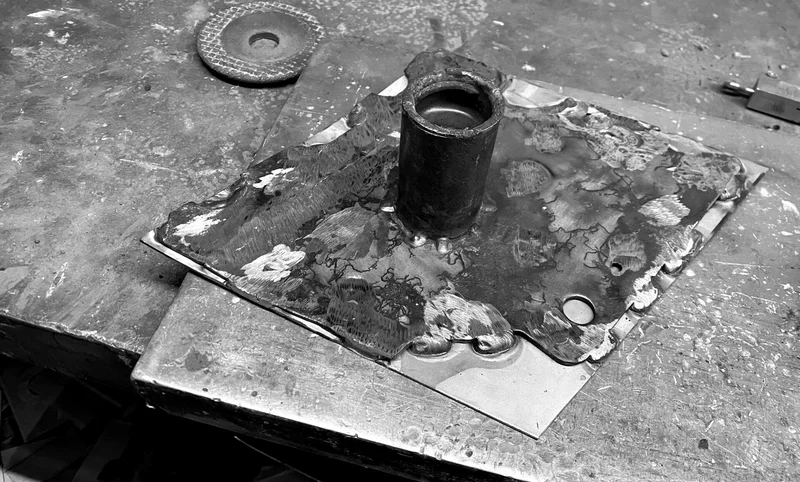
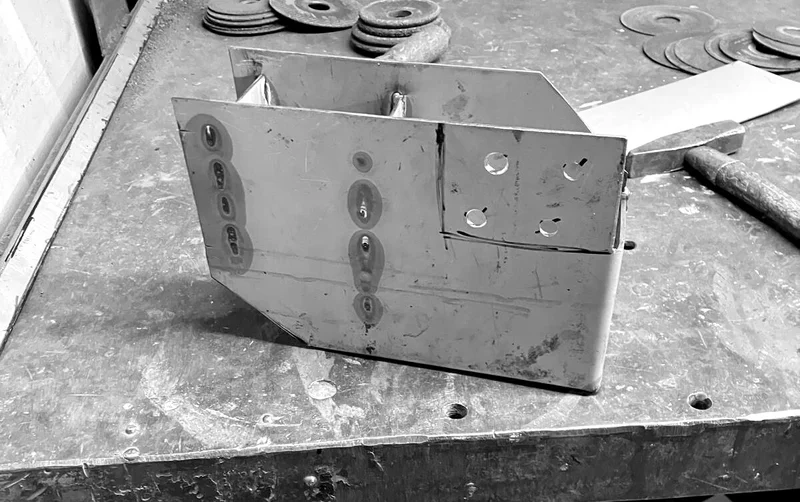
- The spring seats, left and right, newly fabricated
- The structural chassis rails
- The wheel arch lips and wheel arches, left and right
- The subframe, replaced
- The steps at the sliding door, the driver’s side and the passenger’s side
- The inner sills
- The jacking points, left and right
- The tow bar and bumper beam, newly fabricated
Making a load-bearing part yourself does not start with the steel, but with the measurements. Measure, measure and measure again. Only then will it fit exactly and do what it is meant to do.
For structural parts I use steel of at least 1.5 to 2 mm. After that it goes step by step: folding on the brake, cutting, drilling, welding and hammering into shape. Not a quick fix, but a part that will last for years again.
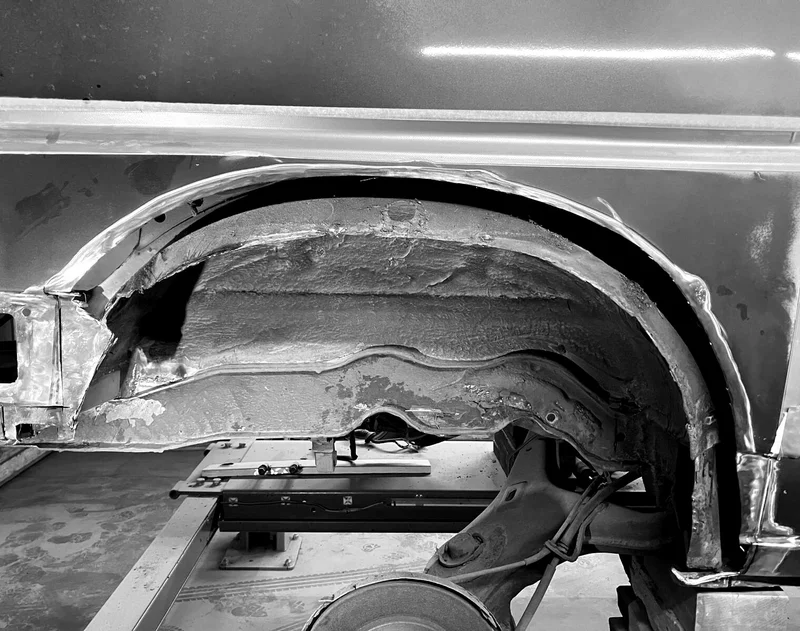
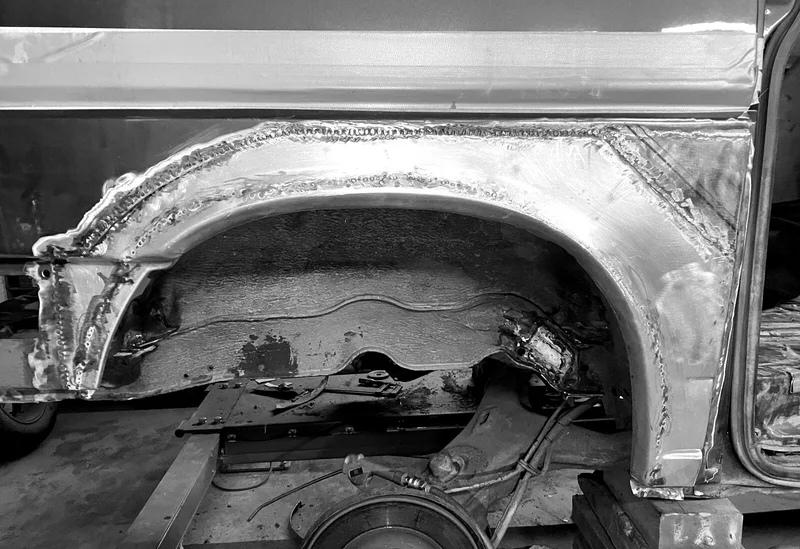
The difference is best seen in the load floor. Compare it with the photo taken after welding.
A project of this size calls for an honest assessment. I fully understand that many fellow professionals would advise against starting on a van in this condition. That is responsible advice, too: on paper, the time and cost of a restoration like this are often out of proportion to the value of the vehicle.
Even so, I chose to take it on. Of course because I was asked to, but also because the emotional value of this van touched me. Whether a vehicle is worth it is ultimately for the owner to decide. That value is not always in the metal; sometimes it lies in the memories.
I worked on this project as a freelancer, hired by a business client. I carried out the restoration independently, from the first clean to the handover.